The Liturgical Seasons that our Church has put in place create a
beautiful rhythm for Christian life. I also love the signs and symbols
of the seasons, and I have been creating a resource to use with kids as a
reminder of the meaning of each season. You can see the Lent printable here. In prep for Holy Week, here is a printable for the Triduum, the three most important days in our year. I have it in black & white and color. You can
print it out to hang in your home or classroom, or use it for a
notebooking or lapbook project.
I hope you and your family have a most blessed Triduum this year!
Click here for the black and white printable:
Click here for the color printable:
Wednesday, March 25, 2015
Monday, March 23, 2015
Pope Wanted Posters
This week Pope Francis celebrated his second anniversary as our Pontiff. (yay!)
I can't believe that it has been two years, but I still vividly remember hearing the news of Pope Benedict's resignation, the time waiting for the election, and the day that we saw white smoke at the Vatican. I also love that I was in a Catholic School when it happened, meaning that the day stopped and we were glued to the TV (well, the computer and smart board) as we waited to meet our new Pope.
Rewinding back to those days while we waited for the Cardinals to assemble, my students and I had fun investigating and studying the process for the election of the new pope. We also talked about both the requirements and the desired attributes of the man who would become pope. As an assessment for that study, I had my students create wanted posters about what they were looking for in the new pope. I printed off this clip art for them (it can be found on a lot of free clip art sites including here). Then they created the look of an old west wanted poster and included details about requirements for the new pope, what qualities they thought would make a great pope, and who to contact. :)
While I hope Pope Francis remains our leader for a long time to come, this is an activity I would use again!
Here were our two favorite videos about the election of the Pope:
And here are some more examples of our wanted posters:
Friday, March 20, 2015
7QT: Seven Ways to Celebrate A Patron Saint Day
Yesterday was the Solemnity of St. Joseph, a special day for the Universal Church, but a very special day for my students at our St. Joseph School. We try to celebrate well, but it can be hard coming up with new and meaningful ideas each year. I thought I'd pull together seven of the big concepts we usually work into our celebration that could be general enough for others to use too as you enjoy the feast day of the patron of your family, homeschool, classroom, or parish.
To keep this quick, each idea just has a picture and a short caption. Click on the pictures to either send you to a more detailed post or to the source of that idea. I'd love to hear from you about how you have used a concept like these or other ideas you have for celebrating a patron Saint.
~1~
Make a shrine or art project in honor of the Saint.
For more Saint crafts I have done before with kiddos, visit the Sharing the Faith Tab and scroll down to the Saints section.
~2~
Make a big visual display for all to enjoy,
like this multi-media mural:
Or a stained glass icon poster:
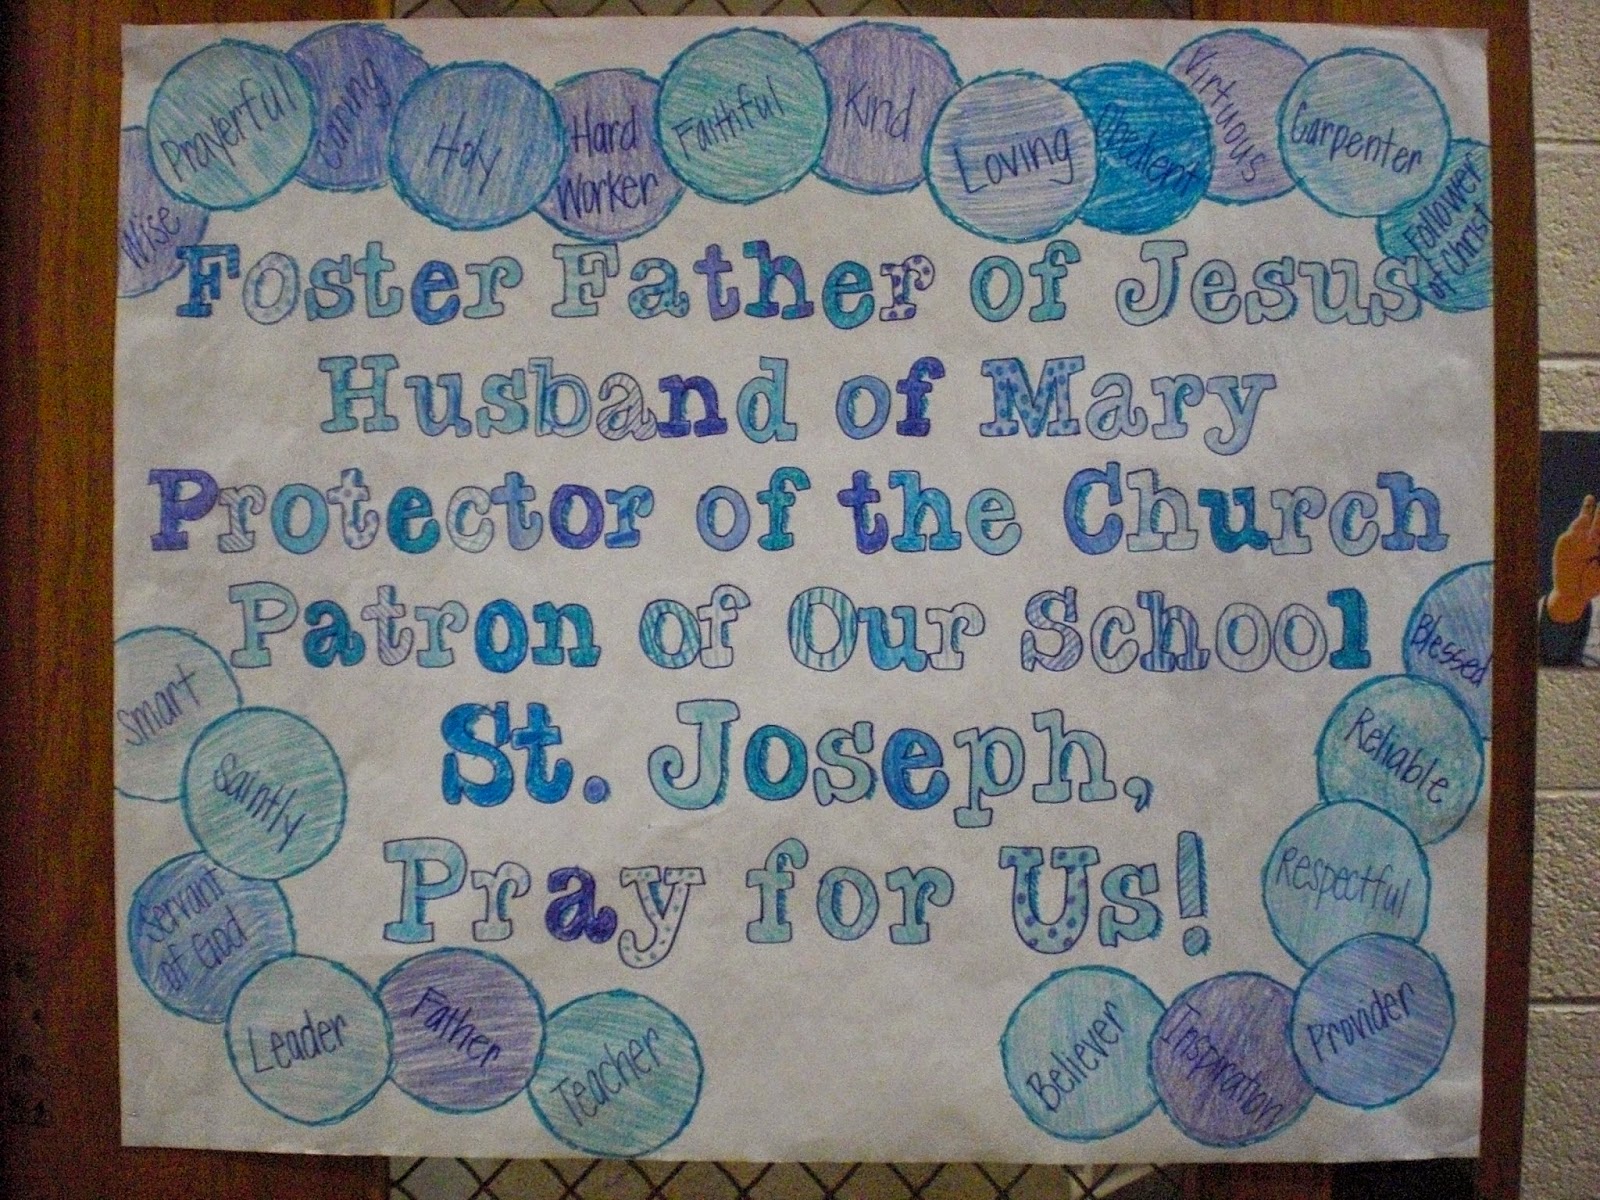
Or a litany poster:
Or be brave and paint a mural!
~3~
Make your own Saint cards with a picture and a special prayer:
~4~
Enjoy a special food:
~5~
Celebrate the people under the patronage of that Saint- the person celebrating a name day, or a whole family, or a parish, or a school.You may have seen this activity floating around on Pinterest. I had each student sit with their back to our white board and the rest of the class wrote kind and encouraging words about that person. We took a picture and erased the board before they could see it. I printed the pictures and handed them out at the end of the day on St. Joseph's feast, celebrating that we as part of the St. Joseph School community can build each other up just as St. Joseph builds up the church.
~6~
Read a special book about your Saint:
This one is from Word Among Us Press, and has lovely pictures.
~7~
We often will gather all together to either pray a litany, or have a special prayer service, or will pray a novena in the days leading up to the feast.
Go visit Kelly for more Seven Quick Takes!
Tuesday, March 17, 2015
Quick & Easy Saint Joseph Shrine
St. Joseph Day is coming up quickly, and as a school under the patronage of St. Joseph, we strive to make it really special. I wanted to create some vibrant art with my kiddos to put on display for the day and then send home with them to continue to encourage their devotion to St. Joe. But, I didn't have a lot of time to spend on the project. Hence, we created these easy and adaptable Saint shrines. We made them for St. Joseph, but you could use the same concept for any Saint.
Step 1: Using heavy colored cardstock (like 110#, not the flimsy 60# stuff) find the center of the long side and place a small pencil mark near the edge.
Step 2: Fold the short sides to that middle mark and crease (make a shutter fold).
Step 3: Create an arch by drawing a slight curve on one side of the folded corner.
Cut it off (through both layers). Flip it over and trace it on the corner to create a symmetrical curve. Cut off this side as well.
Giving you a look like this:
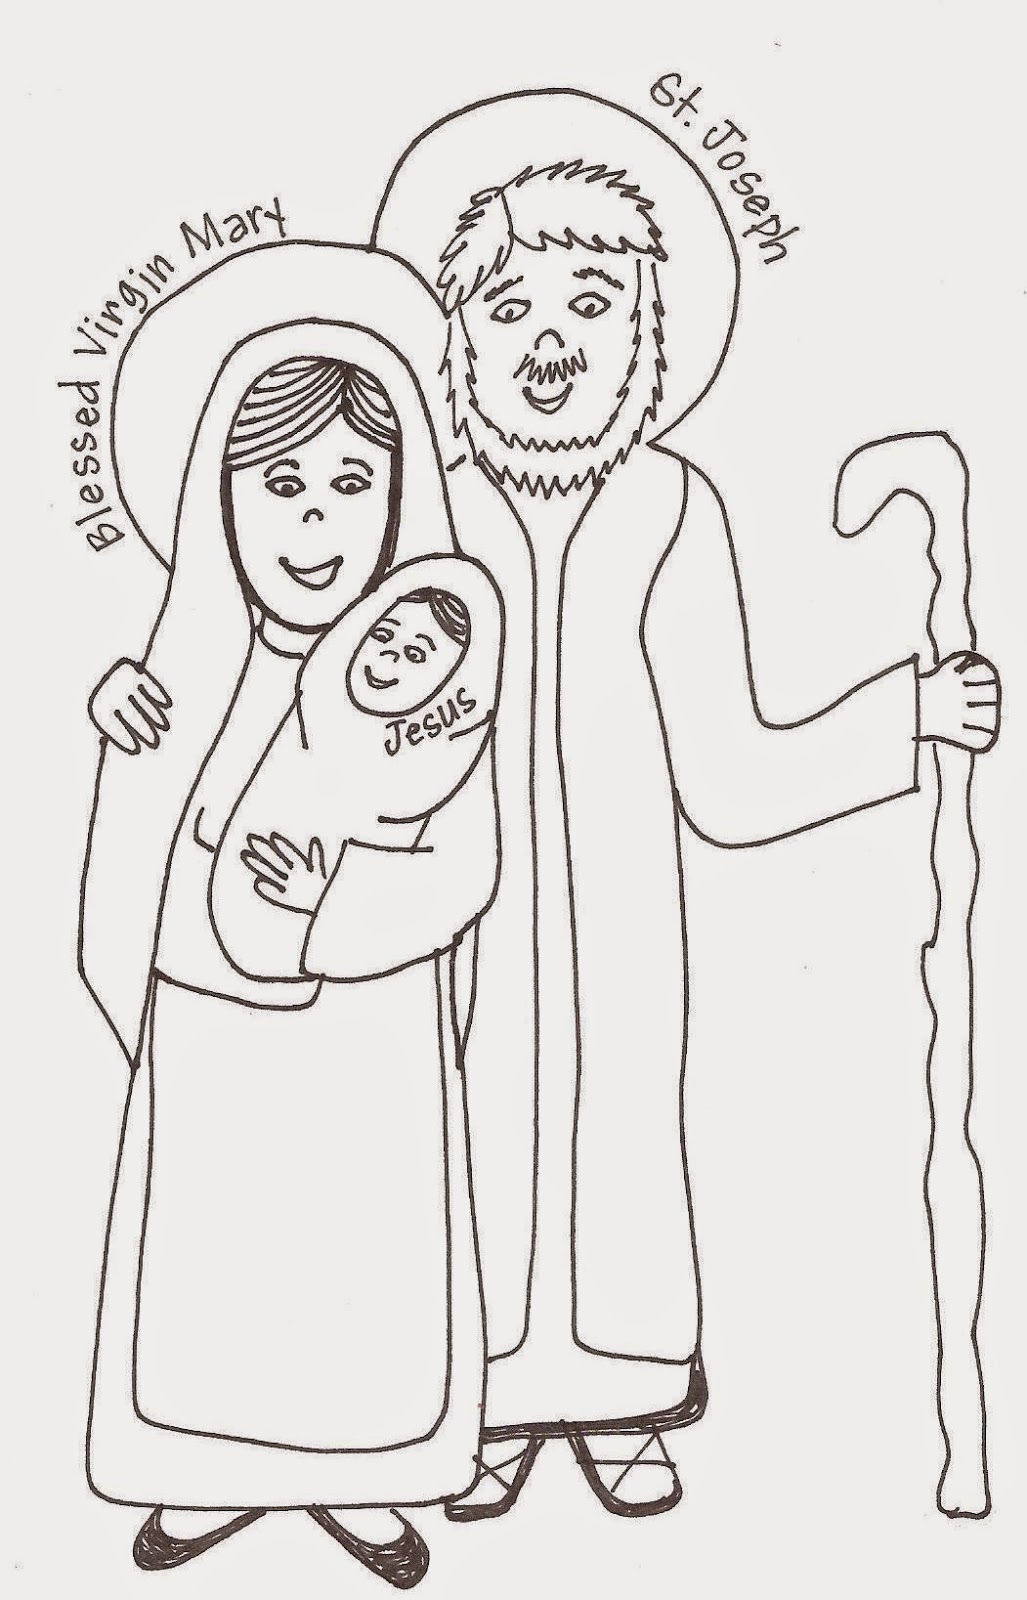
Step 4: Find a favorite coloring page or line drawing clip art of the Saint. Mine uses a Holy Family coloring page that I created, but you can have several options for the kids.
Click on the image for a link to this printable:
Print off the coloring page at 50-75% of its normal size so that it fits in the center section of the shrine (5.5"x8.5"). Color, cut and glue.
Step 5: On one side of the image, write "St. Joseph, Pray for Us!" or similar line. On the other side have the students compose or copy a prayer dedicated to that Saint.
And there you go! These were fun, fast, colorful and easy. They stand nicely on their own but also look great hanging up.
Here they are on our bulletin board for the week:
I love how they turned out, and the kids are excited to get to take them home and hang or set them in a special place after St. Joseph Day!
To see how we celebrated St. Joseph Day last year, check out this post:
Monday, March 9, 2015
Sunset & Shadow Stations of the Cross Art Project
To continue our celebration of Lent in the classroom, and to get the kids thinking about the Stations of the Cross, we made this Sunset and Shadow Stations of the Cross art project over the last two weeks. I am so pleased with how they turned out, and thought that I would share the idea and a few steps that worked for us.
1. First, we assigned the stations to various kids. I don't have 14 or 28 students in my class, which would have been ideal, but we just made sure that there were 14 kids doing each station and then had duplicates of some stations.
After deciding who had what station, I told them that they were going to have to create a silhouette of that station, and it had to be connected to a horizon (meaning that it had to be a view of a scene, not just a symbol of the station). We looked at pictures of silhouettes, and discussed how inner detail is lost, so the outline and the placement really matter. I mocked up a couple of stations on the board, starting with stick figures and filling in to make it 2-D.
2. The kids then created their representation of the station they were assigned. They had a copy of our school's Stations of the Cross booklet for inspiration if they wanted it. They just sketched on notebook paper and cut it out as a template.
3. They then traced that pattern on to black construction paper and cut it out as well, creating their silhouette. Here are a couple of examples:
That part of the project took up one art class. We saved the next step for art the following week.
4. Next, on to the sunset watercolored background. I knew average watercolor sets wouldn't yield enough red, orange, and yellow paint for my whole class, so I mixed school tempera paint and water to create a sort-of-cheap-version. I use an approximate 1:3 paint to water ratio, and just mixed until it was a smooth consistency that was watery but still carried color.
I used red, orange, yellow, and white to mix various hues, starting with just one color and then dumping and stirring cups together, creating some variation for the kids.
5. I had a couple cups of each shade of paint and spread them out on one table, where all the paint stayed for this project. Paintbrushes were assigned to a cup, not a kid, and I only had 4-5 kids working at the table at the time, helping prevent the disastrous mess it could have been. As it turns out, we only ended up spilling one cup, and all of it stayed on the table. None got on the floor, or even one of the projects.
Anyways, the kids created a sunset across the horizon of a heavy piece of white paper. We talked a bit about blending, but the kids had some very different takes on the creation of a sunset, which was great and creative.
And our industrial janitors' closet sink made clean up easy. (Wouldn't it be nice if all classrooms had one?)
6. Once the watercolored page was less than dripping, we moved it to the clothesline in our classroom, which coincidentally hangs over our radiators. I intentionally had the kids do art a little earlier in the afternoon, because we then went over to the church for our whole school Stations of the Cross. By the time we got back about a half an hour later, the sunset pages were dry and we were able to assemble everything before they went home.
7. The final step was to glue the silhouette onto the sunset page. We just used Elmer's glue, which sticks fine, but causes everything to curl. To remedy that, we place a textbook on top of the art as it dries. Sometimes even as little as a half an hour under a book is enough to encourage it to dry flat. Once they were done, we added a roman numeral in the corner of the Station of the Cross it represented, and they were done! Check out the awesomeness:
I hung the first 14 in the hallway in order, and it looked awesome. Very eye catching, and you clearly can see the pieces of the story of Christ's suffering and death fitting together as a whole.
And here's a tiny panorama trying to capture them all:
I love how this project turned out, and I particularly like the symbolism of the darkness of the silhouette and the fading sunset as Christ battles evil on Good Friday. On that day, Satan thought he had won, and the darkness looked stronger than the light. However this death, His Death, was the turning point for all history. The perceived darkness was conquered by the victory of the Light, and the sunset was actually a ray of hope and joy for every new dawn after.
"They who dwell in the ends of the earth
stand in awe of Your signs;
You make the dawn
and the sunset shout for joy."
~Psalm 65:8
Subscribe to:
Posts (Atom)


.jpg)


